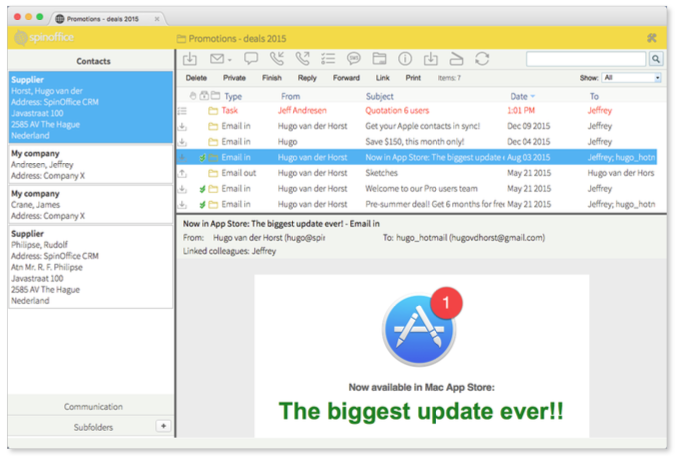
To make SpinOffice your daily working environment, you need to import all your contact-related files into your database. Create folders to have your files structured and organized. Almost any file can be imported into the application.
8.3 Creating Folders and Subfolders
8.4 Adding items to a folder or subfolder
8.1 Adding files to a contact
Via Drag & Drop or the menu option Extra -> Import -> Files, it is possible to add files directly from your local disc to a contact. All uploaded files will be visible in the contact’s archive. This simplifies the transition from previously used CRM applications or other relationship tools to SpinOffice.
8.2 The file list
A complete overview of all files added/uploaded and of files received via email is available via the menu item Go To -> File list. A window opens with a complete list of all files in your SpinOffice. At the top of the window, there is the ability to search files based on description, company, or contact.
Use right-click on the file item for many more options. For instance to see file properties, to send as an attachment, to export, to print, to see properties, or to convert to PDF.
It is not possible to add new files to SpinOffice via the file list. This is only possible via the contact card, the archive, or when in a folder.
8.3 Creating folders and subfolders

In this paragraph, we explain how to create folders and what the main benefits of using folders. Folders can be created:
- From a contact’s archive: go to the archive of the contact for whom you are planning to create a folder and click on the ‘+’ icon in the folder list on the left.
- Within the inbox: once you receive an email and you want to store it in a folder that is not yet created for that particular contact, you can also create a folder via the ‘+’ icon in the folder list on the left in your inbox.
In both situations, following 'Create new folder' window appears

- The ‘Folder name’ field is required.
- Only select one of the folders in the ‘Is subfolder of’ list if applicable.
- ‘Folder type’ is a way to make easy filters in the folder list based on a folder type. (Define ‘Folder types’ via the menu option Administration -> Folder types)
- Click on the save button when finished.
The newly created folder will be directly visible in the archive’s folder list on the left,
and it will instantly open:

It will also be added to your complete folder list. This overview is accessible via the menu item
Go to -> Folder list. To open a folder, click on the folder in the folder list.
As mentioned above, the folder will automatically open in a new window. On the next page, we will show you an example of a folder and important tools and icons.
All types of files can be added to any folder; email messages, memos, short text messages, tasks, appointments, call reports, etc. Any contact in your database or a colleague can be linked to a folder. It is even possible to send emails from a folder. The message will automatically be stored in this folder.
Important icons that play an important role in a folder
 | Link folder: Manage the contacts and colleagues that are linked to the folder. A newly added contact will also be displayed on the left part of the window. |
 | Folder properties: All folder details can be seen and adjusted here. |
 | Time registration: A Pro feature. Time can be written on a folder, and a timesheet can be exported. |
 | Import files: Import files from your local disks. |
 | Scan: Scan local files in a snap. |
 | Export folder: A Pro feature. A zip file can be made of all the content of the folder. |
Creating a subfolder works the same way as creating a folder, except that the field ‘Is subfolder of’ should be completed.

After your subfolders have been made, it will be shown like this. All folders and subfolders are visible. Main folders can be folded and unfolded via the small unfold icon.

8.4 Adding items to a folder or subfolder
First, you have to create folders and subfolders to be able to store archive items in these folders. Once you have done so, the rest is pretty easy:
In the inbox or the archive, drag the selected archive item, whether it is an email, a file, a task, a note, or something else by its description, and drop it into the destination folder or subfolder.

Manage the folders for an archive item via the right-click menu item ‘Link to folder’.
8.5 The folder list
The folder list (Go To -> Folders) gives an overview of all existing folders. At the top, you can search folders by description or by contact/company.

Use the right-click on any folder for more options. Click once on the folder to go to the content. The image above this paragraph shows what this looks like and gives you more information.
The folder type list on the left can be adjusted via the administration menu Administration -> Folder types. This is assigned by you as a user when the folder is created, but it is still adjustable via the folder properties.
Was this article helpful?
That’s Great!
Thank you for your feedback
Sorry! We couldn't be helpful
Thank you for your feedback
Feedback sent
We appreciate your effort and will try to fix the article